Risk of data loss!
With this certificate, you can digitally sign emails and/or send and receive encrypted messages.
Please note that encrypted emails are no longer readable without the corresponding certificate!
Even if the certificate has already expired, it will still be needed!
You have no control over others sending you encrypted emails. Store the certificate (especially the private key) and the associated password in a safe place.
The ITS cannot help you if the private key and/or password gets lost. Encrypted emails are then irretrievably lost and can no longer be read or restored from a backup.
This is how you can send digitally signed mails with Outlook under macOS:
To send digitally signed mails, you need
- your personal certificate and the corresponding password (instructions here)
- installed Office 365 with Outlook with your Uni Bayreuth mail account set up (instructions here)
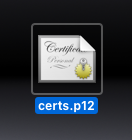
Open your certificate file (e.g. certs.p12) by double clicking it.
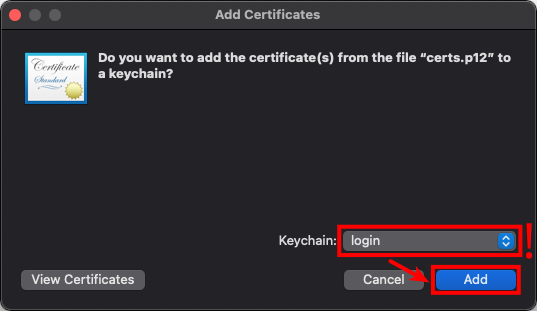
A prompt opens, asking if the certificate should be added to your keychain.
Next to Keychain:, select login and click on Add.
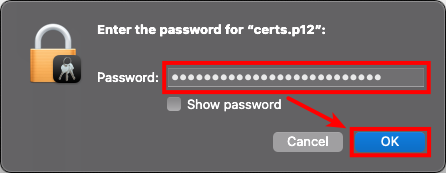
Afterwards, enter the password for your certificate file. You have defined it during the download of your certificate – it is independent from your Uni Bayreuth user account password!
Click on OK.
Your certificate was added to the keychain.
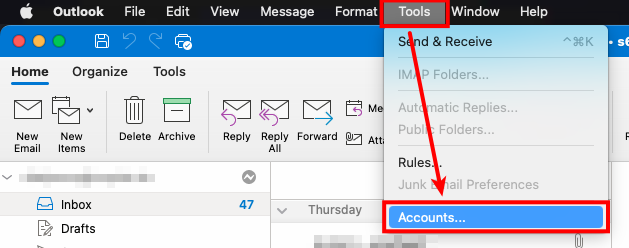
Now, open Outlook and click Tools -> Accounts...
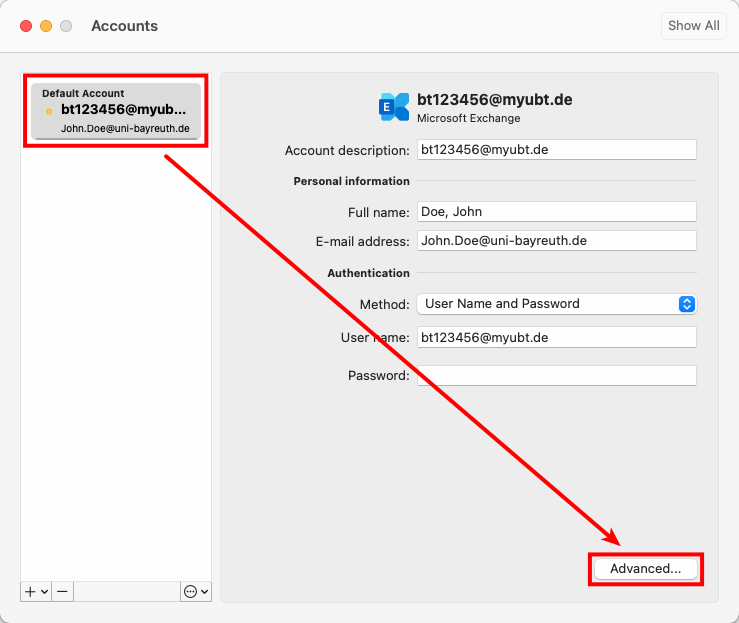
In the now appearing window, select your Uni Bayreuth mail account on the left and click Advanced... to the right.
The mail address shown in this dialogue has to be identical with the one in your certificate! It was shown to you while creating / downloading the certificate.
Another new window opens.
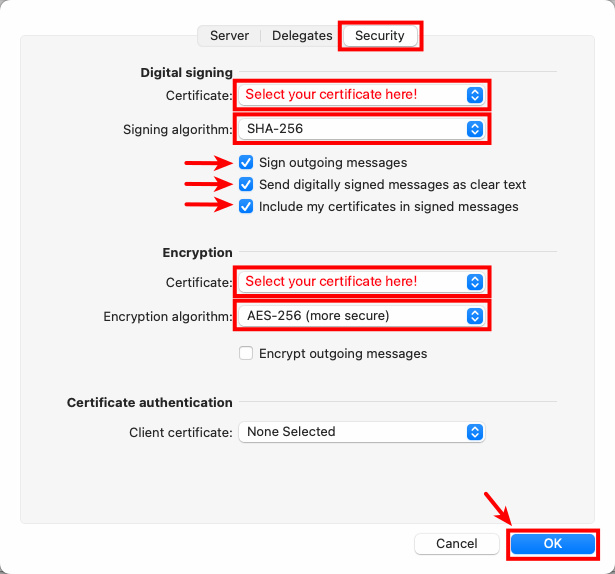
Open the tab Security up top and configure everything as shown in the screenshot, so:
Under Digital signing:
- Certificate: Select the certificate you imported at the start of this tutorial. By default, it will display your first and last name.
- Signing algorithm SHA-256
- Tick all three checkboxes
Under Encryption:
- Certificate: Select the certificate you imported at the start of this tutorial. By default, it will display your first and last name.
- Encryption algorithm: AES-256
Confirm by clicking OK.
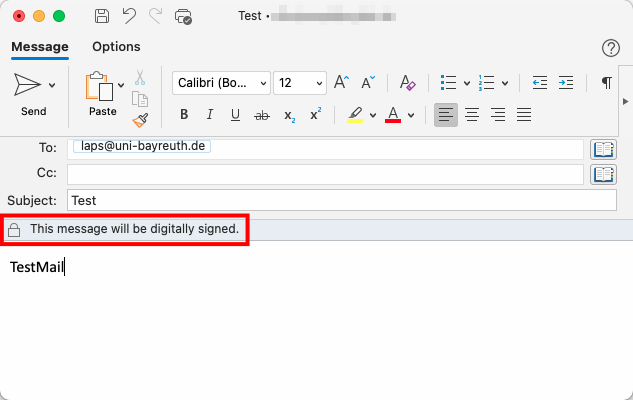
That's it! From now on, your mails will be sent digitally signed. When composing an email, there should be a banner saying This message will be digitally signed.