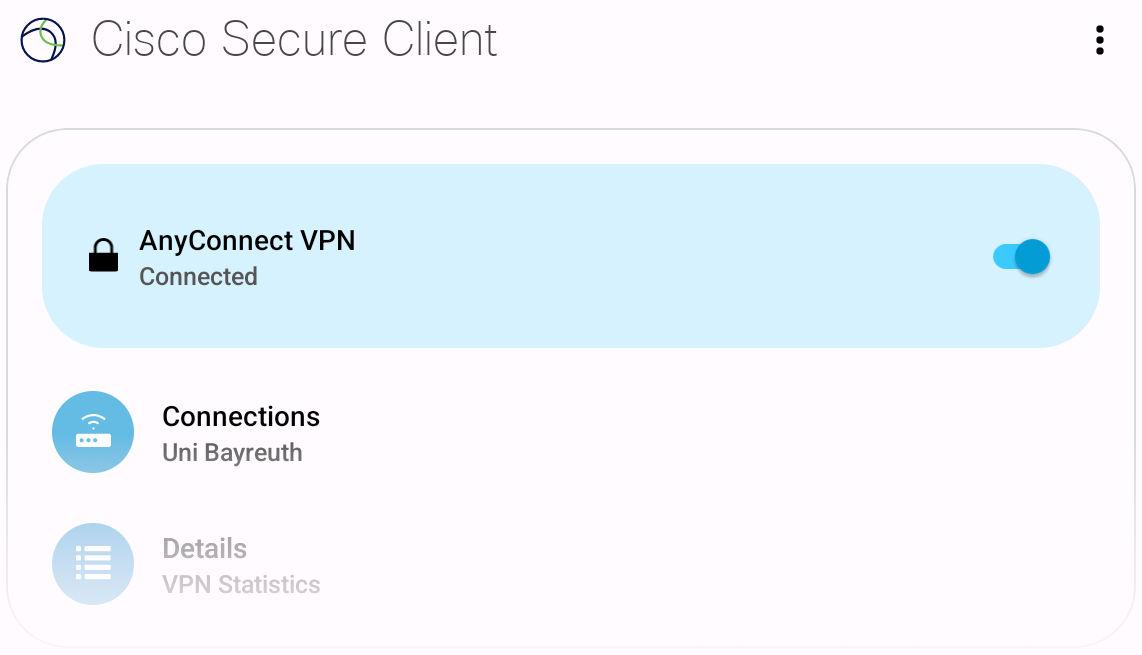
This is how you setup VPN on your Android device using Cisco Secure Client:
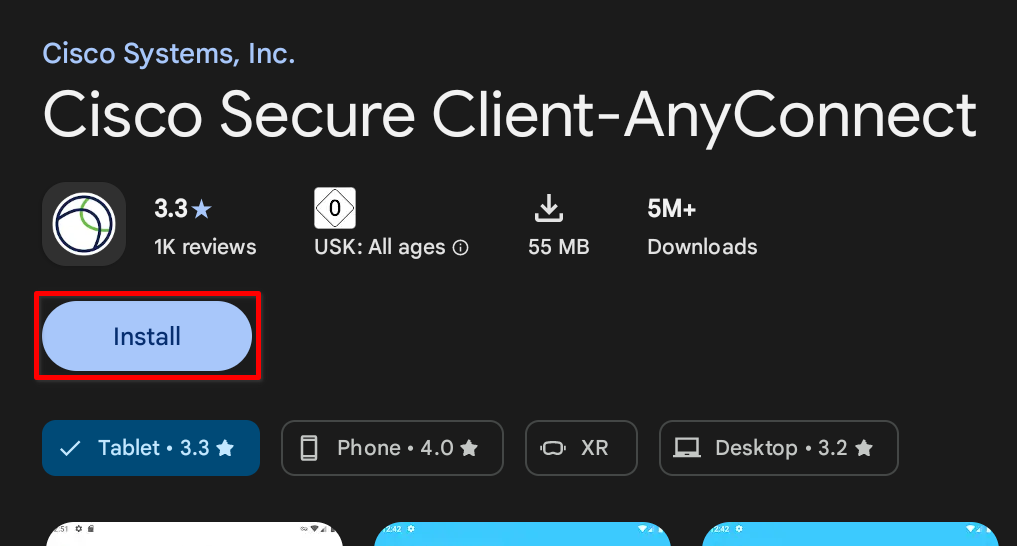
Install the Cisco Secure Client app from the Google Play Store on your Android device.
https://helpdesk.its.uni-bayreuth.de/cisco-vpn-android or by scanning the QR code on the right.
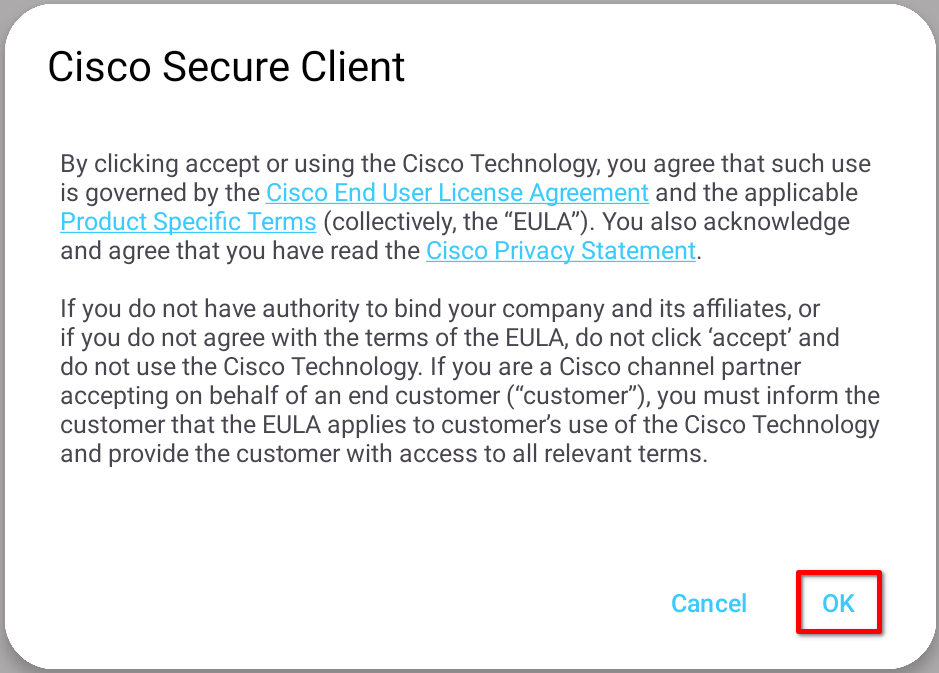
Open the Cisco Secure Client app (sometimes also called AnyConnect) you just installed and accept the license terms by tapping OK.
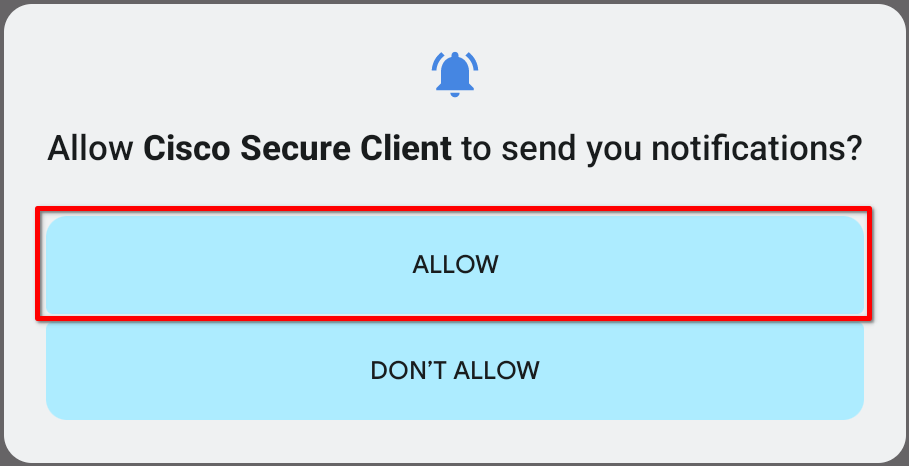
Select Allow to receive notifications from the Secure Client.
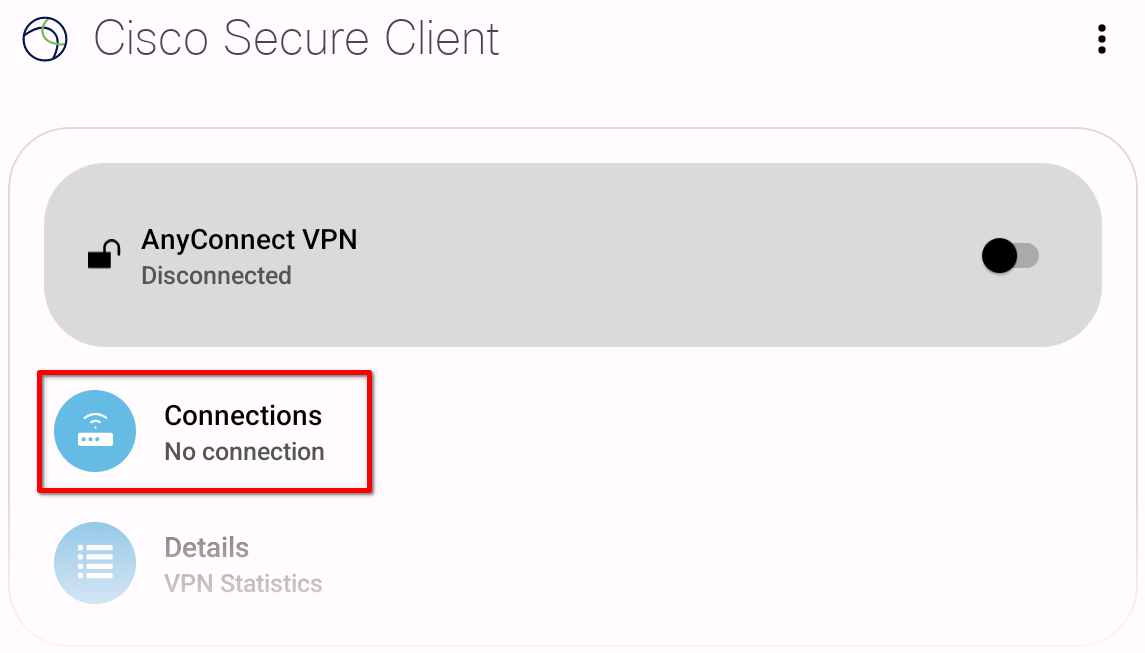
Now configure the Uni VPN server by opening Connections.
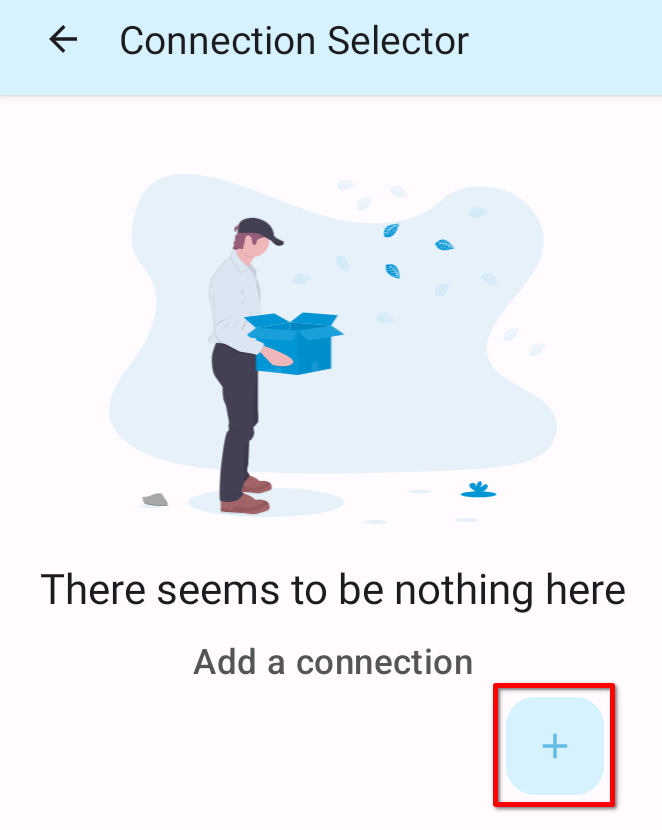
Tap the plus sign (+).
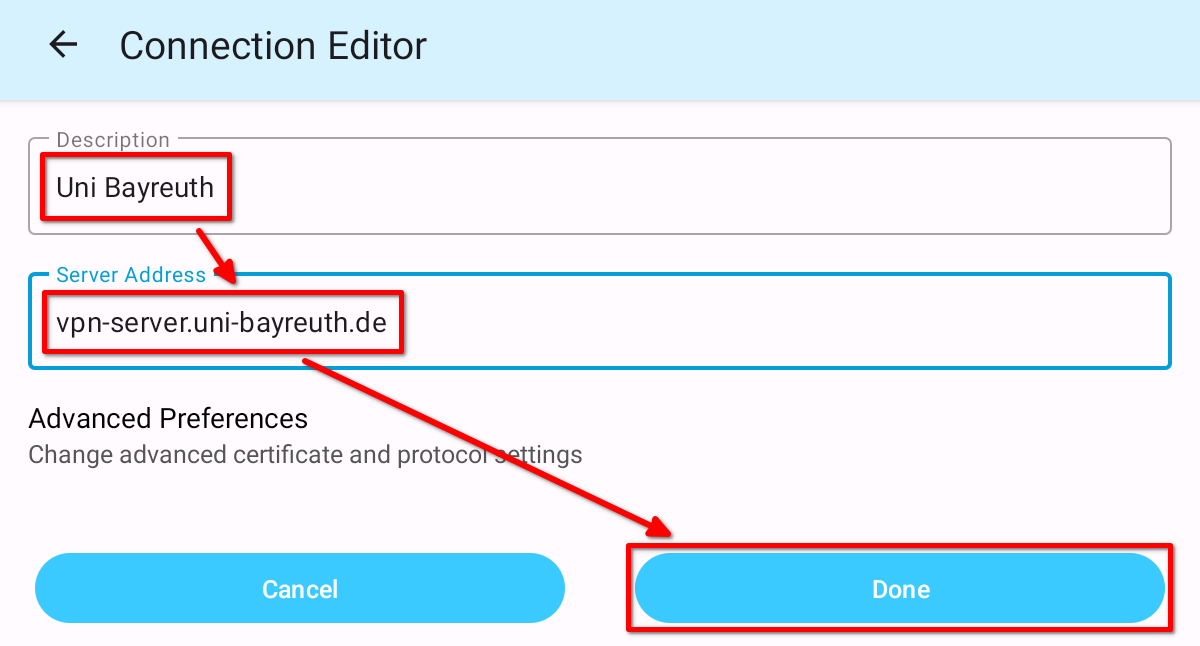
Enter Uni Bayreuth as Description and vpn-server.uni-bayreuth.de as Server Address, then tap done.
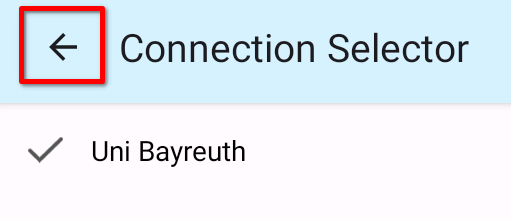
If you have configured multiple VPN servers (e.g. from other universities), make sure the box next to Uni Bayreuth is checked.
Tap the back arrow in the upper-left corner.
The setup is now complete, all previous steps only need to be performed once.
The following steps describe everyday usage.
Open the Cisco Secure Client App (if not already open, sometimes also called AnyConnect) and tap the switch next to AnyConnect VPN to connect.
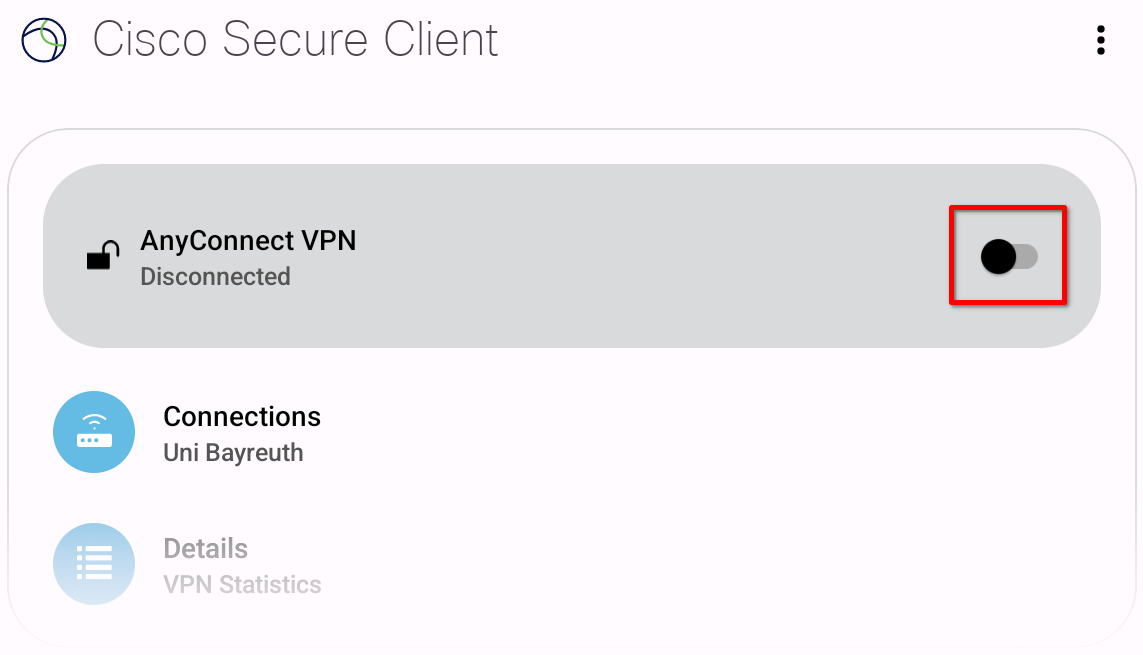
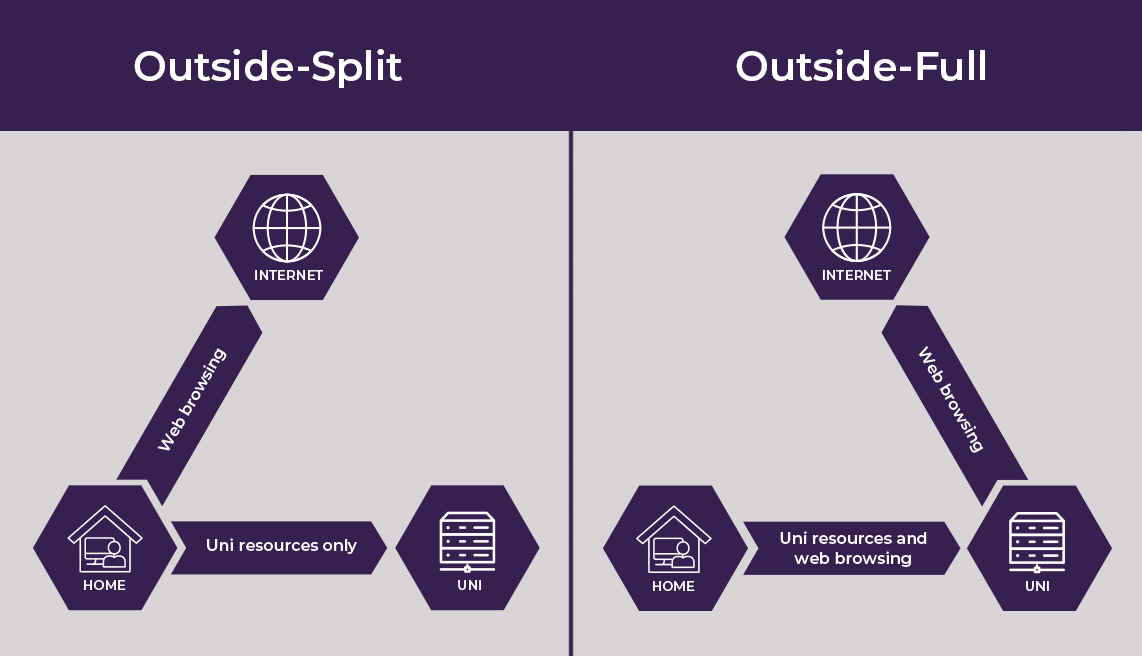
In the next step, you have to select a VPN profile or “group.” Three options are available:
-
Outside-Split
For connections from outside the University of Bayreuth. With this profile, only connections to destinations within the university network are routed through the VPN tunnel. It is suitable, for example, for employees working from home who need access to online time tracking, network drives, network printers, and other internal services. -
Outside-Full
For connections from outside the University of Bayreuth. With this profile, all network traffic is routed through the university. It is suitable, for example, for researching in external databases from home. Connections may be a bit slower, so use this profile only when needed. -
Campus
Use this profile to connect to the internet at wired (Ethernet) connections in seminar rooms, lecture halls, or public workstations in the library.
If you’re not sure whether Outside-Split or Outside-Full is the right choice, start with Outside-Split. If you can’t access certain resources with that, switch to Outside-Full.
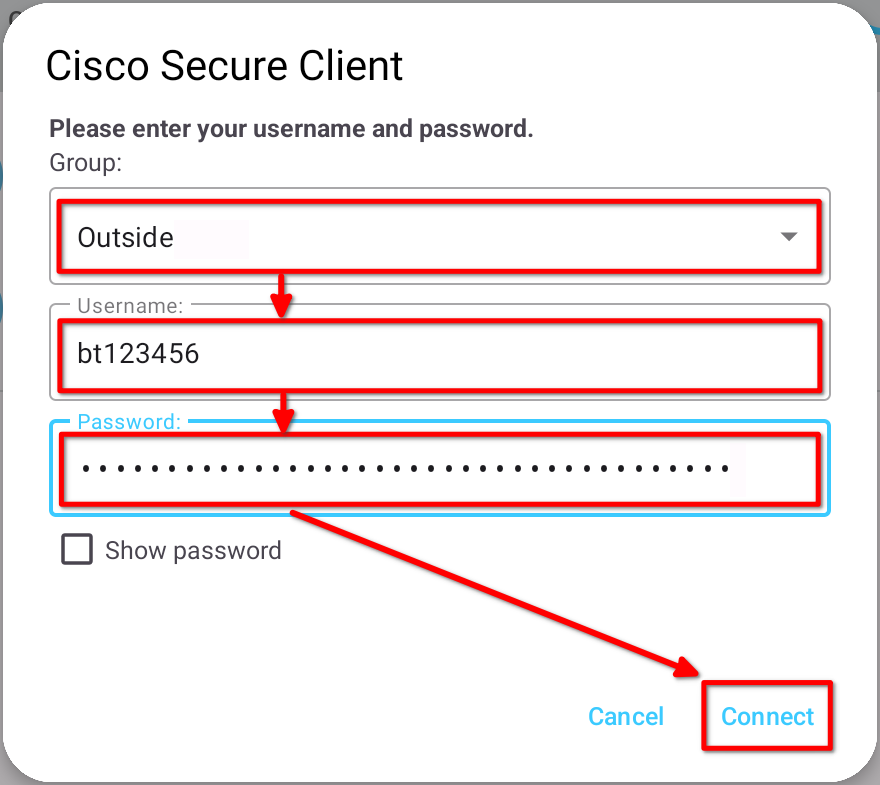
Select the Group that suits your needs (see the previous step), enter your Uni username and the associated password, then tap Connect.
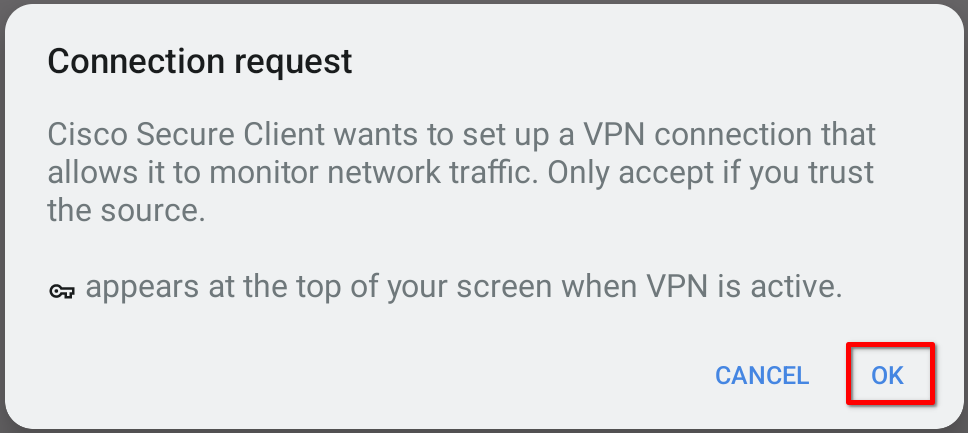
You may be prompted to allow the VPN connection. Tap OK to confirm.
Done! You should now be connected to our VPN and are ready to use it.
To disconnect, open the Cisco Secure Client app again and tap the switch next to AnyConnect VPN.