This is how you setup and use VPN on Windows
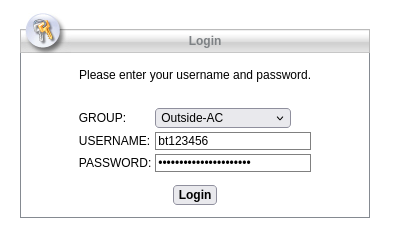
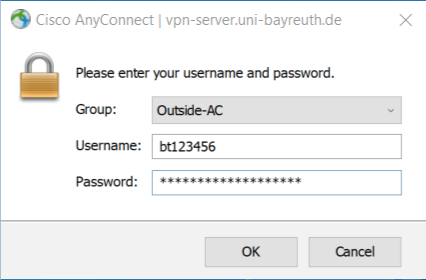
To download the Cisco Secure Client (in the past: Cisco AnyConnect), open the website https://vpn-server.uni-bayreuth.de in your browser. Then, under GROUP: select one of the two Outside-Profiles (!) and enter your **Uni username (e.g. bt123456) and the respective password.
Now, click Login.
Open the website using the device you want to install the VPN software onto. Your operating system will be automatically detected, there is no option to choose it manually.
Click the Download button which appears after the login.
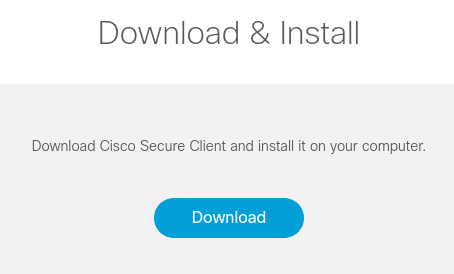
Install the file you have just downloaded by double clicking on it. Follow all instructions given by the installation routine.
The setup is now complete, all previous steps only need to be performed once.
The following steps describe everyday usage.
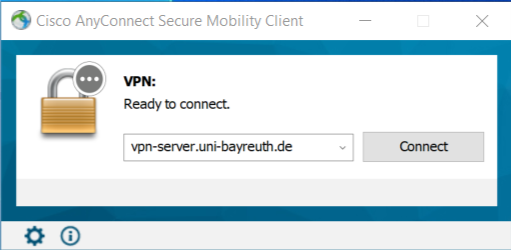
Start the Cisco Secure Client from the folder Cisco in your application list.
Enter the server address vpn-server.uni-bayreuth.de and click on Connect.
In the next step, you have to select a VPN profile or “group.” Three options are available:
-
Outside-Split
For connections from outside the University of Bayreuth. With this profile, only connections to destinations within the university network are routed through the VPN tunnel. It is suitable, for example, for employees working from home who need access to online time tracking, network drives, network printers, and other internal services. -
Outside-Full
For connections from outside the University of Bayreuth. With this profile, all network traffic is routed through the university. It is suitable, for example, for researching in external databases from home. Connections may be a bit slower, so use this profile only when needed. -
Campus
Use this profile to connect to the internet at wired (Ethernet) connections in seminar rooms, lecture halls, or public workstations in the library.
If you’re not sure whether Outside-Split or Outside-Full is the right choice, start with Outside-Split. If you can’t access certain resources with that, switch to Outside-Full.
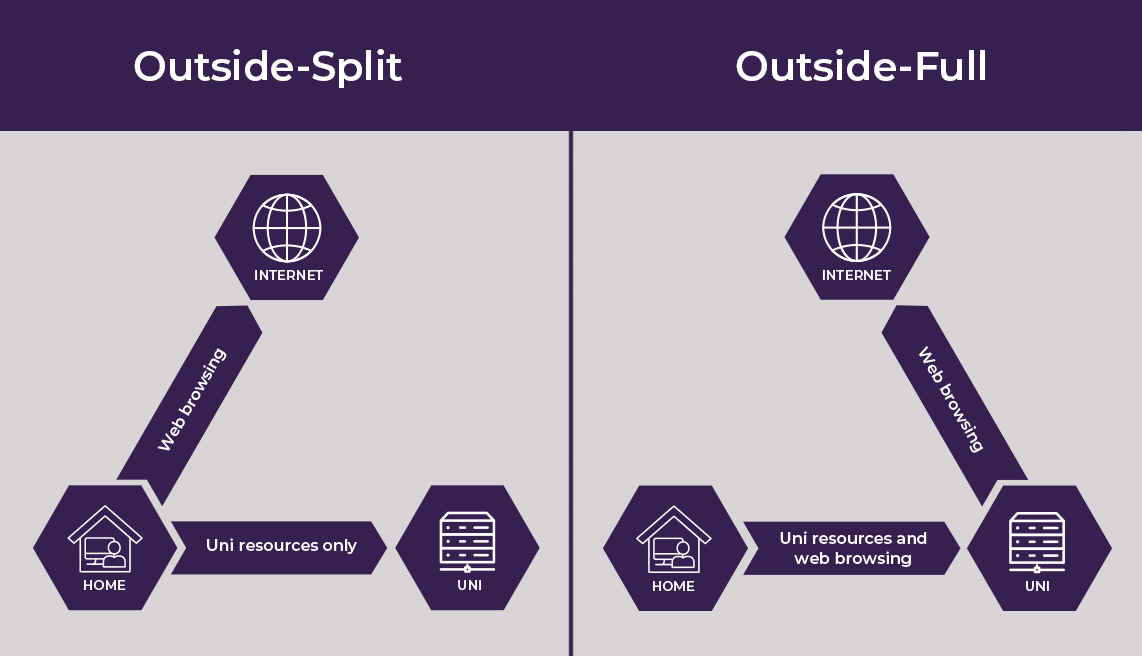
Select the Group that suits your needs (see the previous step), enter your Uni username and the associated password. Click on OK.
When the connection is successfully established the Cisco Secure Client will disappear into the tray bar down to the right.
Done! You should now be connected to our VPN and are ready to use it.
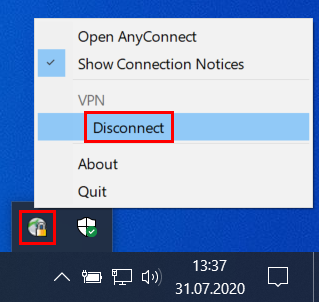
To disconnect, right-click the application icon in the tray bar down to the right -> Disconnect.